
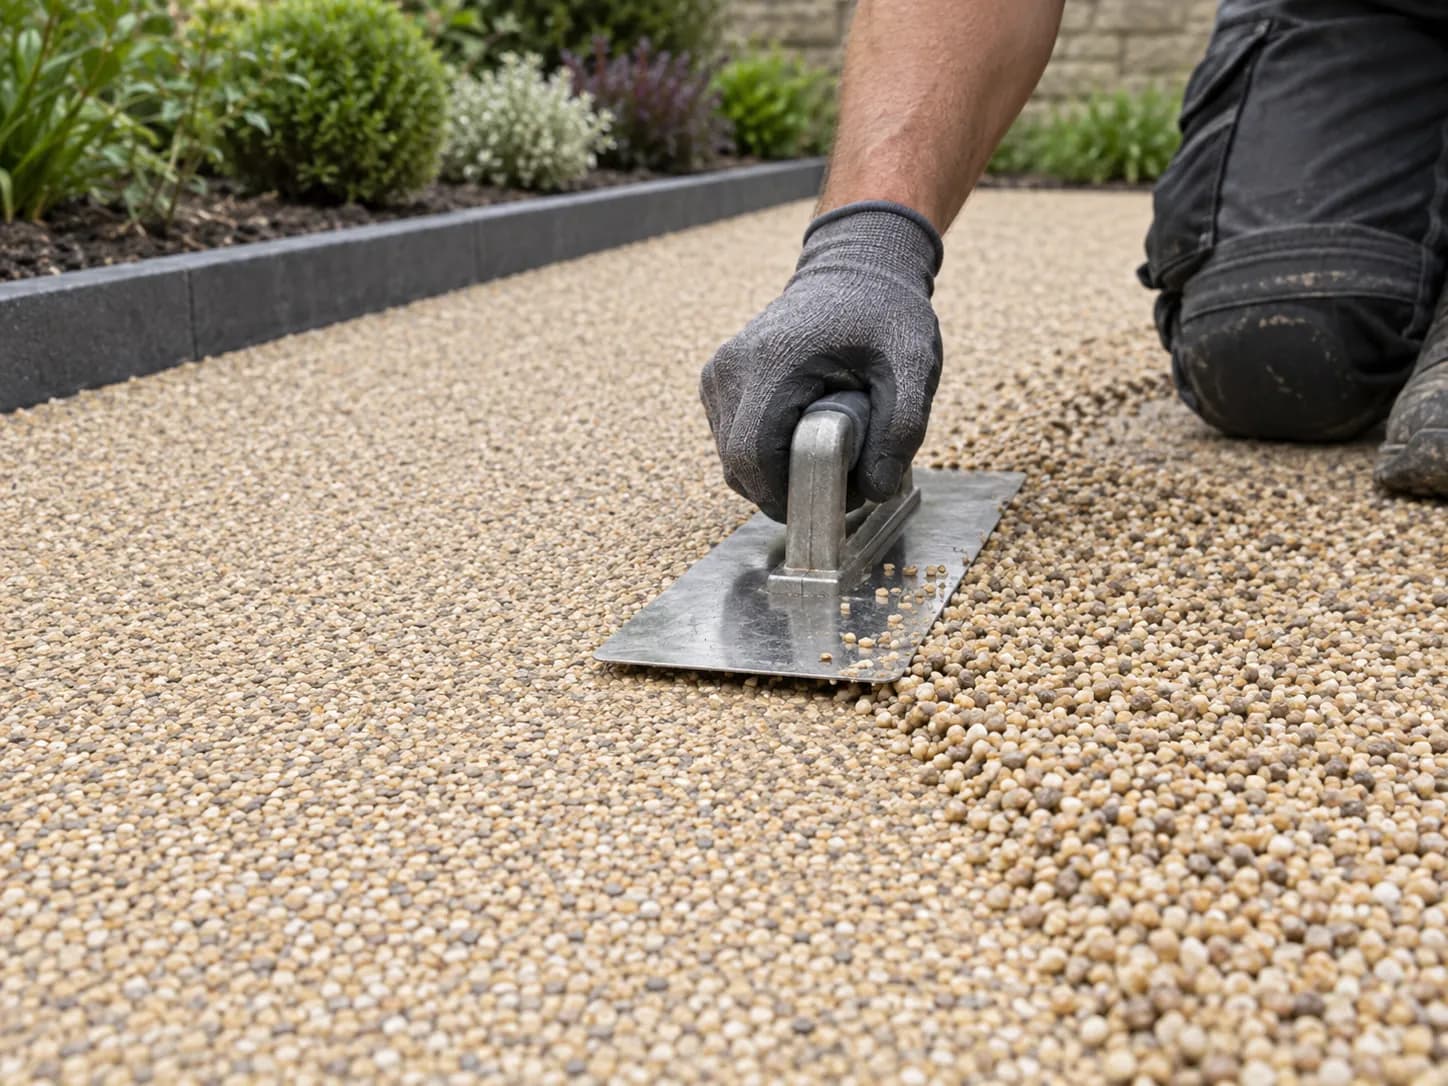
The surface itself has no structural value — it relies entirely on the base beneath it and on disciplined mixing, weather awareness and accurate depth. Get those right and you can achieve a durable surface; get them wrong and the only cure is often a full strip-out and re-lay.
The step-by-step professional process
- Survey. A competent installer visits before quoting — checking ground conditions, the existing surface, drainage, levels, edges and access. Quoting without a site visit is a red flag.
- Base preparation. Retain and prepare a sound approved base, or excavate and build the specified new sub-base where required.
- Edge restraints. Aluminium channel or kerbs are set in concrete with the top face exactly at finished surface height.
- Clean and prime. The base is washed, dried fully, and primed where required.
- System-specified mixing. Aggregate and two-part resin are measured and mixed with the equipment required by the named system until every stone is coated.
- Laying and trowelling. A small team works in rhythm, trowelling to a consistent depth and working back toward the exit.
- Curing. The area is cordoned off and protected from rain.
Base and groundwork
The sub-base is the most critical layer — most failures start here. A fully permeable design commonly uses an open-graded sub-base such as MOT Type 3, topped with porous asphalt or another base approved for the named resin system. Exact layer depths depend on the sub-grade, expected vehicle loading and manufacturer specification, so they should be designed for the site rather than copied from a generic build-up. Each layer is mechanically compacted as specified. New asphalt or concrete must cure for the period required by the base and resin-system manufacturers before it is overlaid.
Why full-size batches use forced-action mixing
A forced-action (pan) mixer uses rigid paddles to grip and coat every stone evenly. A cement (drum) mixer just tumbles the material, leaving stones part-coated — the classic cause of early loose-stone failure. Professional driveway systems normally specify forced-action mixing. Some small DIY packs explicitly permit a drill and paddle for their measured batch size, so the current technical instructions take priority; a drum mixer is not an equivalent substitute.
Weather, temperature and the best season
Resin is moisture- and temperature-sensitive. Temperature limits and any use of catalysts must follow the named system; heat shortens the working time, while cold slows the cure. The base must be dry, the surface safely above the dew point and rain absent for the specified installation and cure window. Limits differ by product, so the current technical data sheet takes priority over any generic temperature or humidity figure.
Cure times and job duration
The named product, catalyst and weather determine the handover time. For example, Vuba’s Porta Romana page states 24 hours for foot traffic and 48 hours for vehicles, while other products specify different times. Follow the current data sheet and installer's written advice. Groundwork and base curing can extend the project beyond the resin-laying day.
Can you lay a resin driveway yourself?
A small path, step surround or repair may be manageable for an experienced DIYer who follows a named system's instructions. A full driveway is much less forgiving: consistent batches, a prepared base, a dry weather window and a coordinated team are needed to maintain a wet edge. If you are considering the DIY route, compare systems, coverage and equipment in the resin driveway kits guide; otherwise use a trained installer.
Signs of a good vs bad install
Good: a physical survey; named UV-stable resin; a forced-action mixer on site; a proper team; full-depth excavation where needed; mechanical compaction; temperature, humidity and dew-point checks; consistent depth; edges trowelled flush; the area cordoned during cure. Bad: no site visit; a suspiciously low price; a cement mixer; one person working alone; laying on a damp or frosty day; overlaying paving without written system approval and substrate assessment; no edge restraints; a whole drive done in a few hours; promising vehicle access before the named cure time; or white blooming within hours.
This is why the installer matters most — see how to choose a resin driveway installer. For the finished surface and its upkeep, see maintenance, and to price a job use the cost calculator.